Bottles are pressed into the mud layer. The bottles are placed alternating the neck facing forward and backward to allow for more bottles to be placed into the wall. Mud is pressed down between the bottles and a layer compacted on top of the bottles, thick enough to cover the bottles and allow for the next layer of bottles to be pressed into the mud. We used matching bottles for each layer to ensure a consistent wall thickness and it allowed the ends of the all the bottles to finish flush with the mud wall face.
Image 13
We stopped at this level and covered the frame with tarp until Wednesday, 23rd April 2014, to test the hardness of the mud wall after it had about 36 hours to set. It was a good test to see if anything needed to be changed in the mud mixture. On the Monday we used a cow manure compost blend and we used a pure cow manure on the Wednesday to improve the mixture and make it more water resistant. More lime was also added into the mixture. In later photos you can notice the colour of the wall change. This is due to the mixture improvements and the water making its way from the top layers down to the bottom and eventually away from the bottom of the wall through the timber pallet.
Image 14 and 15
Each section of wall (to the depth of each front timber formwork) consisted of compacted mud, a layer of bottles, another layer of compacted mud, another later of bottles and lastly mud pressed between the bottles ready for the next section of wall to be built on top.
Image 16 and 17
The level of the wall was checked each time a layer of mud was added and compacted to ensure a finish which would show the bottles running neatly horizontally along the wall.
Image 18
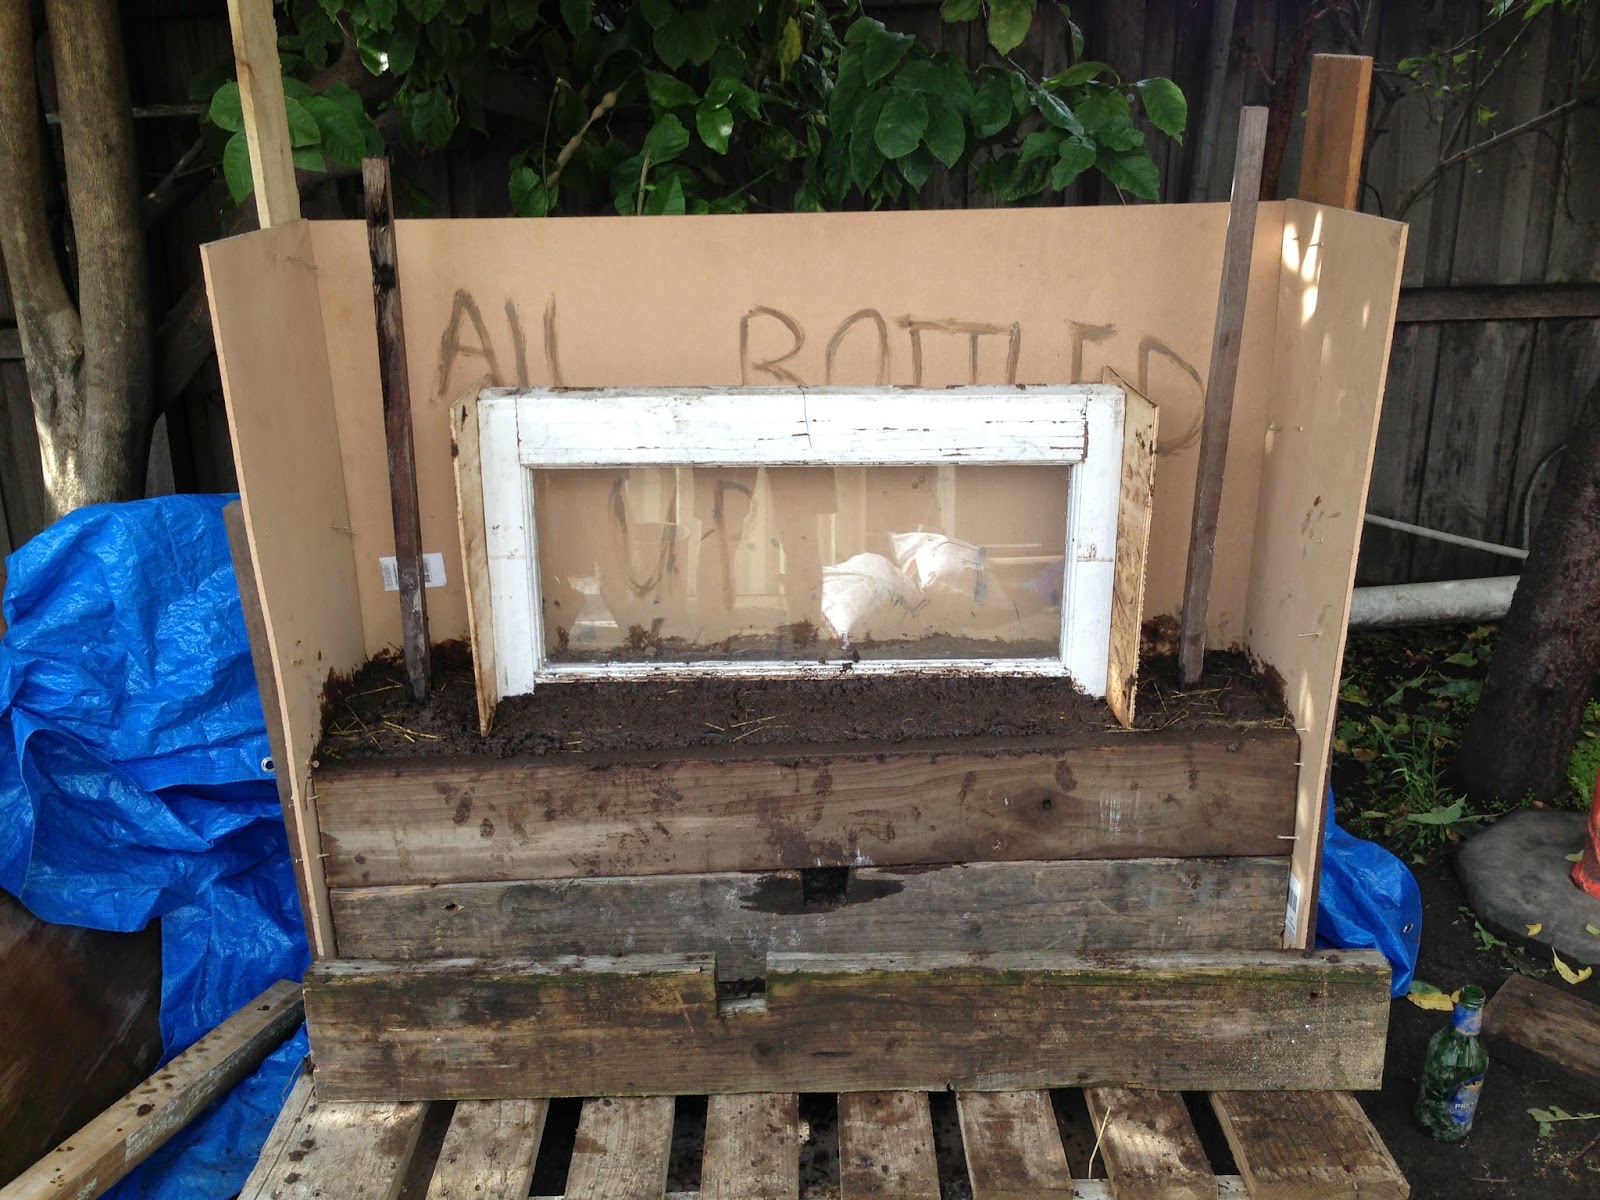
Reclaimed hardwood timber stakes were bedded into the mud. The paling fence we used as a lintel for the window would later be fixed to the stakes to give it added stability in the mud wall to carry the load when more layers of mud and bottles were pressed on top of the window.
Image 19 and 20
Board cut to the depth of the wall (~200mm) is fixed to each side of the window so that mud can be packed tightly up against the window but still provide a neat finish between mud wall and window opening. The board also provides seal to the window to prevent water and moisture from the wall from reaching the window.
Mud is packed tightly up against and over the window sill to prevent water from getting in behind the window and wall. The mud is packed at an angle to provide a sill to the window and allow water to drain away from the window and run down the mud wall instead of pooling on the window sill.
Image 21, 22, and 23
 Mud is packed up around the stake and the window boarding to anchor the stake and fix the window in position. Care is taken as the wall gets higher to prevent the mud from pushing out against the front timber formwork by fixing screws into the side frame work and pegging the screws against the front formwork.
Image 24
Group photo showing Dion and I mixing the mud for the top layers of the wall over and along the sides of the window and Tom preparing the struts that will hold the roof sheeting.


No comments:
Post a Comment